Unlike other checkout apps, TeleCheckout provides a quick and easy way to get your custom One Page Checkout up and running in no time - no coding required, no liquid, easy one-click install, and easy instant enable/disable.
Looking to set up the TeleCheckout App? Read further to learn how to quickly and easily install your custom one page checkout in your Shopify store even without any technical know-how!
Signing Up
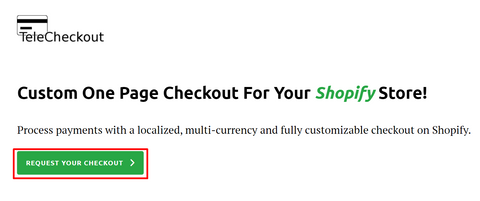
1. To get the app, go to telecheckout.com and click on the REQUEST YOUR CHECKOUT button

- Bluesnap
- 2checkout
- Stripe
- Paypal
- Cash on Delivery (COD)
5. Enter your first name and email address. Ideally, the email address should be associated with your Shopify account.
6. You should be directed to the “Thank You” Page.
You’re done signing up for your TeleCheckout account! We try to process your request as soon as possible. Due to the extremely busy period, our support may be delayed and may take more time to process your requests. We will send you your Install Link via the email address you have provided.
Installing the App on your Store
1. Once you receive the install link in your email, click on the link included.
Note that the link is only valid for 7 days. If you encounter any problems with the link, see our help pages or feel free to contact us and let us know.
2. You should be directed to your Shopify store to start installing the app.
3. Feel free to click on View details to know what each item entails.
4. When you’re ready, click on the Install app button at the bottom of the page. See screenshot below

Congratulations! You now have your app installed in your store! Once done, you should be directed to the app’s settings, which you can modify as you see fit. Make sure to activate your free trial to start enjoying your Custom One Page Checkout and start processing payments with a localized, multi-currency and fully-customizable checkout page in your Shopify store!